Download
User Rating: 4.2/5 ( 1 votes)
Javascript Tooltip is a box that appears following a client event, such as onmouseover, onclick, onfocus, etc. Only one tooltip instance can be opened at a time.
Features
-
Content Source
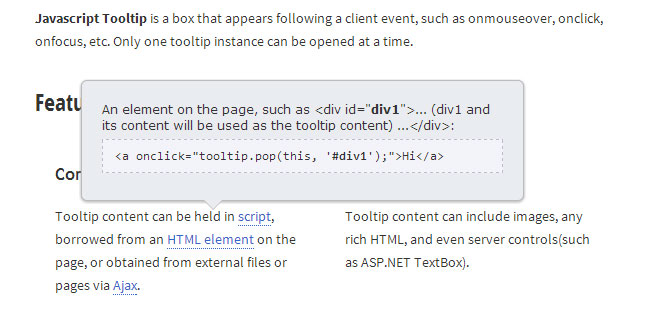
Tooltip content can be held in script, borrowed from an HTML element on the page, or obtained from external files or pages via Ajax.
-
HTML Content
Tooltip content can include images, any rich HTML, and even server controls(such as ASP.NET TextBox).
-
Various Positioning
Top, right, bottom, or left of an element(or the mouse), or in the center, bottom-right corner, or top-left of the screen.
The positioning can be set either globally or individually.
-
Mobile devices
On iOS(iPad, iPhone, iPod), Android, BlackBerry or IEMobile devices, the tooltip popup will automatically show a close button at the tooltip's top-right corner so that it can be closed.
-
Open
The tooltip can be opened respond to any element event, such as onmouseover, onfocus, onclick, or be opened programmatically.
-
Close
The tooltip can be closed byonmouseout(default), or by click the close button (or optionally other screen area) when the tooltip is set to be "sticky", or be closed programmatically.
-
Fully Customizable Styles
Every style of the tooltip is completely configurable, such as background color, border width, border color and callout size.
-
Supported Browsers 
Tooltip is supported by all major browsers, mobile devices, and touch-screens:
IE 6.0+, Firefox 1.5+, Chrome 0.2+, Safari 3.0+, Opera 9.1+, Netscape 7.2+, and hand-held devices such as iPad, iPhone, android...
Quick start
-
Download the demos and the source code by clicking on the Download button above.
-
Include - Put the extracted files into your site, and add the following two links into the <head> section of the page.
<link type="text/css" rel="stylesheet" href="/(path)/tooltip.css" />
<script type="text/javascript" src="/(path)/tooltip.js"></script>
-
Use - Add a client event to the target element in the page that will trigger the tooltip:
<span class="tooltip" onmouseover="tooltip.pop(this, 'Oracle is a database')">What is Oracle</span>
The event can be: onmouseover, onclick, onfocus, etc.
3 Ways to Set Tooltip Content
-
tooltip.pop(targetElement, text[, options])
targetElement: the element where the tooltip will launch from. Usually it is the target element itself where the tooltip is triggered, so most of the time it is represented by the Javascript key word this. However, you can also assign another element or the id of another element to it.
text: The text or HTML to be displayed by the tooltip.
<a href="/hi.htm" onmouseover="tooltip.pop(this, 'Hi there')">Hi</a>
options: the tooltip.js contains the tooltip global settings:
var tooltipOptions= { ... (discussed in Tooltip Options) ... };
You can override any of the global settings by passing in new options. For example:
<a href="/hi.html" onmouseover="tooltip.pop(this, 'Hi there', { maxWidth:600 })">Hi</a>
// alerts "Hi" on page load from the element with id="span1".
<script>tooltip.pop('span1', 'Hi', { sticky:true, position:4 });</script>
-
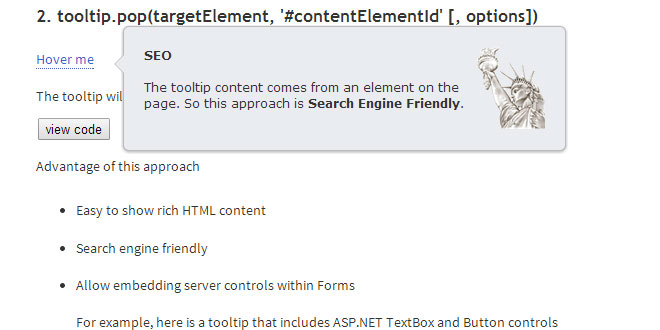
tooltip.pop(targetElement, '#contentElementId' [, options])
contentElementId: The element with id="contentElementId" will be moved into the tooltip box when the tooltip is triggered, and the element will be appended back to its original containing block when this tooltip is not being used.
If you just want to use the innerHTML content of the element and don't want to move the containing element into the tooltip, put double hash sign before its id:'#contentElementId'. Then its innerHTML will be copied into the tooltip instance.
-
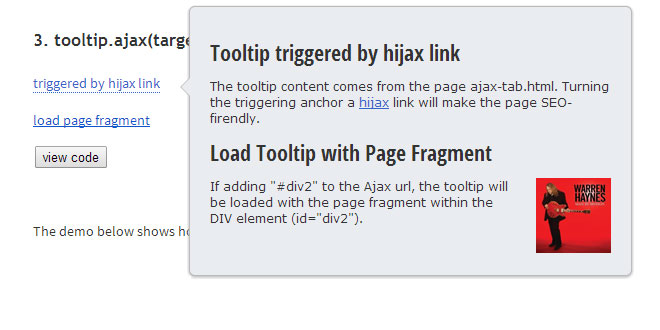
tooltip.ajax(targetElement, url[, ajaxSettings][, options])
This Ajax function will populate tooltip with the content retrieved from another page or document. It does not support cross-domain request.
url
The URL of a page or a data file to which the request is sent.
Note: If the response data type is "html"(this is the default type), and the URL contains a hash id, the tooltip will take the hash id as an HTML id selector and load the page fragment by the HTML id selector.
ajaxSettings
The ajaxSettings(optional) is set using the following format:
{ context: dataObject, success: callbackName, fail: failedCallbackName, responseType: typeName }
Examples:
<img src="question.gif" onclick="tooltip.ajax(this, 'help/tip1.txt')" />
<asp:TextBox ID="Txt1" runat="server" onfocus="tooltip.ajax(this, 'Tips.ashx?tipid=1')">Hi</asp:TextBox>
//Refer to the last demo under the Demos tag for details <span onmouseover="tooltip.ajax(this, '../tips.xml', ajaxSet1);"> Details</span> <script type="text/javascript"> var ajaxSet1 = { context: { tipId: 5 }, success: callback1, responseType: "xml" }; function callback1(response, context) { var x = response.documentElement.getElementsByTagName("tip"); return x[context.tipId].childNodes[0].nodeValue; } </script>
-
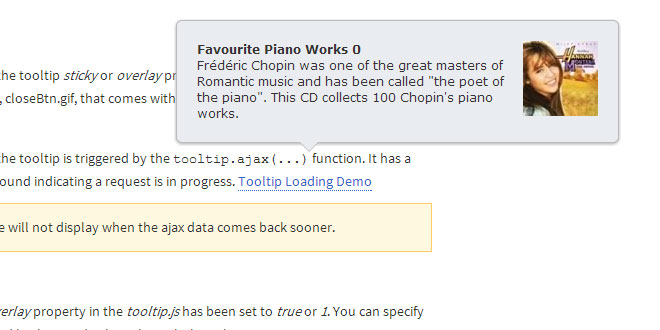
If it takes a longer time to retrieve the Ajax data, a pinning image will show up in the tooltip.
<a href="javascript:void(0)" onmouseover="tooltip.ajax(this, 'src/GetDataHandler.ashx?pid=6', { success: callback2, responseType: 'json' } )">Details</a> <script type="text/javascript"> function callback2(data) { return data.Img + "<b>" + data.Title + "</b><br/>" + data.Content; } </script>
Tooltip Options
var tooltipOptions=
{
    showDelay: 150,
    hideDelay: 300,
    effect: "slide",
    duration: 200,
    relativeTo: "element",
    position: 1,
    smartPosition: false,
    offsetX: 0,
    offsetY: 0,
    maxWidth: 400,
    calloutSize: 9,
    calloutPosition: 0.3,
    sticky: false,
    overlay: false,
    license: "mylicense"
};

 JS Tutorial
