- Overview
- Documents
Lightview was built to change the way you overlay content on a website.
- Clean: Designed to compliment your content.
- Fast: Smart image preloading.
- Easy: Customizable without having to know CSS.
- Rounded: Adjustable rounded corners, no PNG images required.
- Smart: Content resizes to always fit on your screen.
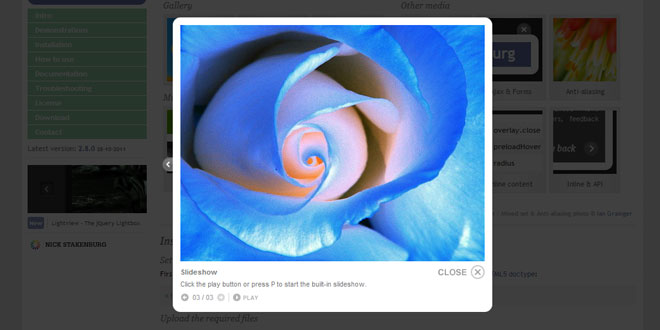
- Slideshow: One button slideshow.
- Works on all modern browsers.
Installation
Setup your doctype
First make sure you have a valid doctype set as the very first line on the page. I recommend using the HTML5 doctype:
Upload the required files
Upload all files from the lightview package to your server: Javascript, CSS and the images.
Lightview requires Prototype 1.7.0 and Scriptaculous 1.8.3+. In the example below I'm including both using the Google AJAX Libraries API. As an alternative you could download and host Prototype and Scriptaculous yourself, but by including both using Google's AJAX Libraries API you don't have to worry about caching and bandwidth cost.
Add Lightview to your page
Add Lightview below these libraries, the correct order of the javascript files is as in the example below.
<script type='text/javascript' src='https://ajax.googleapis.com/ajax/libs/prototype/1.7.0/prototype.js'></script>
<script type='text/javascript' src='https://ajax.googleapis.com/ajax/libs/scriptaculous/1/scriptaculous.js'></script>
<script type='text/javascript' src='/js/lightview.js'></script>
Add lightview.css to your header.
<link rel="stylesheet" type="text/css" href="css/lightview.css" />
How to use
A simple view
A view is created using a links class attribute. Single images should have the rel attribute set to 'image', but you can also use no rel attribute at all.
<a href='image.jpg' class='lightview'>My image</a>
Image galleries
An image gallery can be created using rel='gallery[galleryname]'
<a href='image1.jpg' class='lightview' rel='gallery[mygallery]'>Image 1</a>
<a href='image2.jpg' class='lightview' rel='gallery[mygallery]'>Image 2</a>
Mixed sets of content
A set can contain any type of media, it's syntax is similar to that of a gallery except set is used instead of gallery. The slideshow button will be enabled when a set consists of images only.
<a href='image.jpg' class='lightview' rel='set[myset]'>My image</a>
<a href='movie.mov' class='lightview' rel='set[myset]'>A Quicktime movie</a>
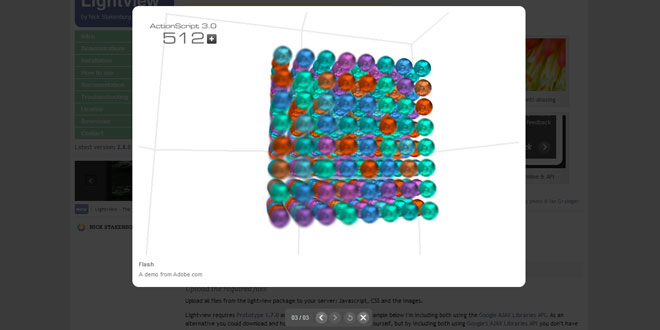
<a href='flash.swf' class='lightview' rel='set[myset]'>Flash movie</a>
Setting title and description
You can set the title and caption using the title attribute. Use the characters :: if you want both title and caption. This character combination can be changed using the titleSplit option.
<a href='leopard.jpg' title='A title' class='lightview'>Leopard</a>
<a href='gazelle.jpg' title='This image has a title :: And a caption' class='lightview'>Gazelle</a>
<a href='cheetah.jpg' title=":: I don't have a title, just a caption" class='lightview'>Cheetah</a>
<a href='rhino.jpg' title="Left in split characters will get stripped :: " class='lightview'>Rhino</a>
Customization
Media other then images supports a thirth parameter with options. There are a lot of options you can use, check the documentation for the available options on each type of media.
<a href='http://google.com' rel='iframe' title='Google :: :: fullscreen: true' class='lightview'>Google</a>
<a href='http://yahoo.com' rel='iframe' title='Yahoo :: caption :: width: 800, height: 600' class='lightview'>Yahoo</a>
Detecting filetype
Lightview will automatically try to detect what type of content you are viewing based on the extensions set in lightview.js. When Lightview can't detect your filetype you will have to set the rel attribute to match it. If you want to show flash for example and the filetype isn't automatically detected you'll have to set rel='flash', other options are quicktime, inline, ajax and iframe.
It's also possible to force a filetype on a set using the following syntax rel='set[setname][type]'. It's impossible for Lightview to detect that the videos below are flash videos since there are no file extensions, forcing the filetype solves this problem. See the documentation for more information on filetypes and forcing them onto a view.
<a href='http://www.youtube.com/v/CQzUsTFqtW0' class='lightview' rel='set[myset][flash]'>Youtube</a>
<a href='http://vimeo.com/moogaloop.swf?clip_id=2874824&server=vimeo.com&autoplay=1' class='lightview' rel='set[myset][flash]'>Vimeo</a>
Quicktime, Flash, Inline, Ajax & Iframe views
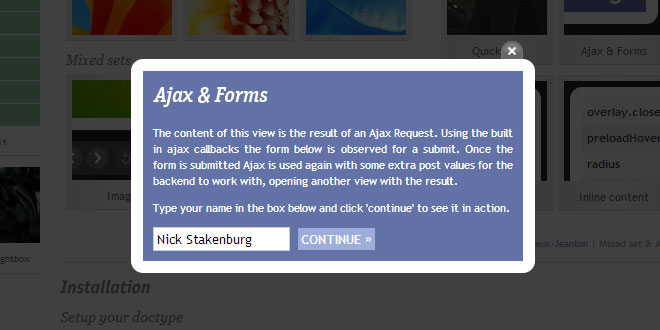
Lightview will show inline content if you set the href attribute to '#id'. The autosize option can be used on ajax and inline views, this will automatically resize them to the content recieved. topclose can be used on ajax, iframe and inline content to have the close button that slides out instead of the static one.
<a href='#hiddenform' class='lightview' title=" :: :: topclose: true, autosize: true">Show Form</a>
<a href='/ajax/' class='lightview' rel='ajax' title=" :: :: ajax: { onComplete: callback }">Ajax Form</a>
<a href='#anotherElement' class='lightview' title=" :: :: menubar: false">No menubar</a>
Using the API
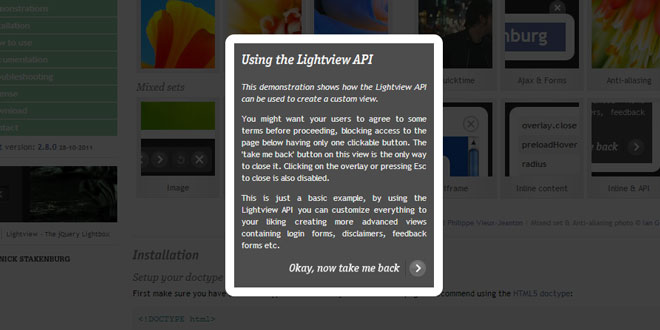
It's possible to show a view using javascript:
document.observe('lightview:loaded', function() {
  Lightview.show({
    href: '/ajax/',
    rel: 'ajax',
    title: 'Login',
    caption: 'Enter your username and password to login',
    options: {
      autosize: true,
      topclose: true,
      ajax: {
        method: 'get',
        evalScripts: true,
        onComplete: function(){ $('name').focus(); }
      }
    }
  });
});

// Here we observe an element and call Lightview.show, the lightview:loaded event
// is used here to make sure Lightview.show is available.
document.observe("lightview:loaded", function() {
  $("elementId").observe('click', function() {
    Lightview.show({ href: 'anotherElementId', rel: 'inline' });
  });
});

// If you have firebug installed you can run this from your console, have fun.
Lightview.show({ href: 'http://www.google.com', rel: 'iframe', options: { width: 800, height: 500 }});
The type of view will be auto-detected using the url you provide. If for some reason you want to force a specific type of view you can overwrite the auto-detection using the rel attribute.
Lightview.show({
  href: 'http://www.youtube.com/v/0alNtVUy7YY&autoplay=1',
  rel: 'flash'
});
Configuration
You can set the following options in lightview.js.
-
backgroundColorThe background color of the view.
-
borderPixel size of the border
-
buttons.opacityChanges the opacity of the buttons inside the view for different states (normal, hover, disabled).
-
buttons[button].displayToggle the display of the side, inner previous/next and the slideshow buttons.
-
cyclicWhen true, galleries will be cyclic, allowing you to keep pressing next/back.
-
controller[options]Configure the Controller used with sets.
-
defaultOptionsConfigure the default options for each media type.
-
imagesThe directory of the images, relative to the javascript file ('../images/lightview/') or an absolute url ('http://yoururl.com/images/lightview/').
-
imgNumberTemplateA string to go below title/caption, using #{position} and #{total}.
-
keyboardEnable or disable the keyboard buttons.
-
menubarPaddingThe padding in pixels between the menubar and the content.
-
overlayToggle the overlay or set it's opacity. On Mac Safari and Firefox overlay.png is used, you will need to modify it for those browsers.
-
overlay.closeToggle if clicking the overlay should close Lightview.
-
preloadHoverPreloads images on mouseover when true.
-
radiusThe pixel radius of the corners.
-
removeTitlesSet to false if you want to preserve title attributes.
-
resizeDurationThe duration of the resizing.
-
slideshowDelayThe time each image is visible during a slideshow.
-
startDimensionsThe dimensions Lightview starts at when opened.
-
titleSplitThe characters that split title caption and options, '::' by default. This means that if you only want to give options you use: title=' :: :: fullscreen: true '
-
transitionScriptaculous transition during resizing.
-
viewportResizes images to stay within the viewport when they open, if true.
-
zIndexzIndex of the lightview, the overlay has this value - 1.
Forcing media type using the rel attribute
You can overwrite the auto detection of the media type. This is useful when Lightview is not detecting your media. For example, when including Youtube or Google video through flash you need to use rel='flash', on a set you will need to use rel='set[setname][flash]'. The following types can be set on the rel attribute.
-
ajaxGet the content using an ajax call.
-
flashTreat the content as flash.
-
imageTreat the content as an image.
-
iframeLoad the url in an iframe.
-
inlineShow the content as inline. A shortcut to this method is using '#id' as the href.
-
quicktimeShow the content using Quicktime.
View options
These options can be used as thirth parameters in the title attribute, seperated by commas. title='title :: caption :: autosize: true, topclose: true'
-
ajaxAdditional options you would normal put as options on an Ajax.Request.
-
autosizeFor inline and ajax views, resizes the view to the element recieves. Make sure it has dimensions otherwise this will give unexpected results.
-
closeButton'small', 'large' or false to change/hide the close button inside the view.
-
widthinteger, sets the width of the view in pixels
-
heightinteger, sets the height of the view in pixels
-
flashvarsflashvars to put on the swf object
-
fullscreentrue or false, shows the view in fullscreen, usable on iframes.
-
innerPreviousNexttrue of false, toggle the inner previous and next button for this image.
-
keyboardtrue or false, toggle the keyboard buttons for this view
-
looptrue of false, for quicktime movies
-
menubar'top', 'bottom' or false, shows the menubar above or below the content or hides it when false.
-
overflowSet the overflow CSS property to create or hide scrollbars for inline and ajax views. Possible values are 'auto' or'hidden'.
-
overlayClosewhen false, disables the overlay close on click for this view.
-
slideshowtrue or false, toggle the slideshow button for this image.
-
topclosetrue or false, show the sliding close button instead of the static one.
-
wmodeflash uses wmode: "transparent" by default, overwrite using wmode: "window" or "opaque".
Functions
The following function are available to you.
-
Lightview.updateViews()Force a reset of all Lightview elements on the page. Most of the time you won't need to do this since Lightview will pick up on newly inserted elements automatically. After updating existing elements it might be required to call this function.
-
Lightview.show(param)Accepts 'id', element and object as parameter and shows the view associated with it.
-
Lightview.show('#id')A shortcut for inline content, this shows the element with the id using an inline view.
-
Lightview.hide()Hides lightview.
Custom Events
Lightview comes with a set of useful custom events you can observe to attach your own callback functions.
-
lightview:opened
You can observe the document or individual links for this event. A function can be called when the event fires. Within the function, event.target will refer to the element that was opened, a few examples:
document.observe('lightview:opened', function(event) { alert('You opened ' + event.target.href); }); $('myId').observe('lightview:opened', function(event) { new Effect.Pulsate($('lightview').down('.title')); }); -
lightview:hiddenFires when you hide lightview, can be used like the :opened event.
-
lightview:loaded
Fires on the document when Lightview is loaded and ready for a Lightview.show call.
document.observe('lightview:loaded', function() {
  Lightview.show('myId');
});
Keyboard shortcuts
-
Arrow left / rightPrevious and next image.
-
P / SPlay and stop the slideshow.
-
Home / EndFirst and last image of the set.
-
EscHide lightview.
 JS Tutorial
