1. INCLUDE JS FILES
<link href="css/styles.css" media="all" rel="stylesheet">
<script src="https://code.jquery.com/jquery-1.10.2.min.js"></script>
<script src="js/main.js"></script>
2. HTML
To begin, we'll add the trigger for our slideout menu. We've created a pure CSS menu button (also known as the hamburger icon) and placed it into our header div.
<a class="menu" href="#">
  <div class="bar"></div>
  <div class="bar"></div>
  <div class="bar"></div>
</a>
Next, we'll set up our navigation menu.
<nav class="">
  <ul>
    <li>
      <a href="#">Home</a>
    </li>
    <li>
      <a href="#">About</a>
    </li>

    ...
  </ul>
</nav>
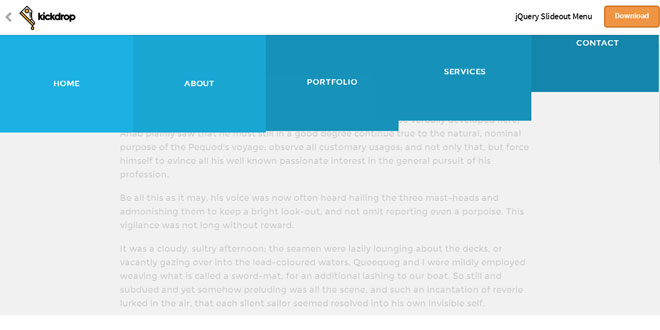
To select a position for the navigation menu after it animates in, you must give the nav a class. The three options to choose from are left, top, and right. After you add the class, the CSS will take care of the positioning and direction to animate the menu in.
3. JAVASCRIPT
Like we stated before, our menu icon will be the trigger that initiates the slideout menu.
$('.menu').click(function() {
  $('nav').addClass('open');
  $('body').addClass('menu-open');
  return false;
});
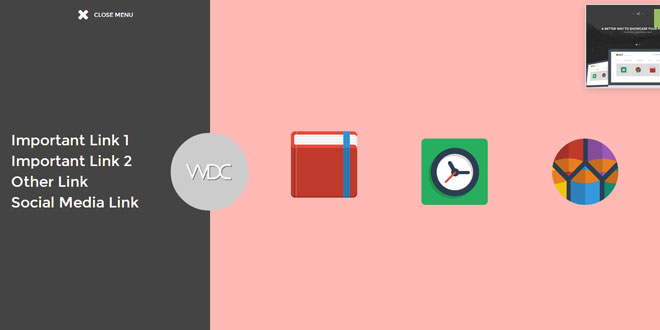
After clicking on .menu we add a class of .open to nav. The CSS transitions we have in place will animated the menu in. We also add a class of .menu-open to body. This allows us to target any element on the page while the menu is open. In this case, we have targeted an overlay div that is placed on top of all elements on the page except for the menu.
We've also added CSS to the body to use a custom cursor for the page while the menu is open.
cursor: url(../images/close.png) 20 20, auto;
Now we need to be able to close the menu and reverse the animation.
$(document).click(function() {
  $('body').removeClass('menu-open');
  $('nav').removeClass('open');
});
 JS Tutorial


