1. INCLUDE CSS AND JS FILES
<link href='../css/jquery.guillotine.css' media='all' rel='stylesheet'>
<script src='http://code.jquery.com/jquery-1.11.0.min.js'></script>
<script src='../js/jquery.guillotine.js'></script>
2. HTML
Set the width of the parent element:
<div id="theparent" style="width: 80%;">
  <img id="thepicture" src="url/to/image">
</div>
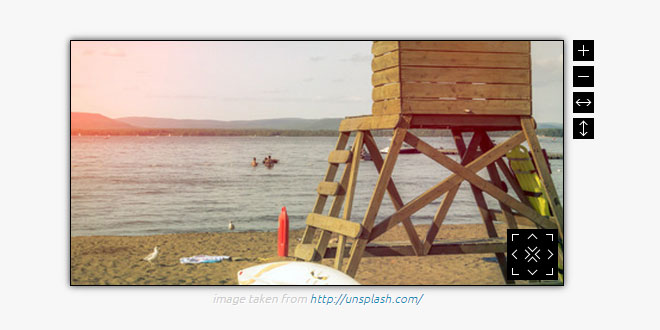
The window ("the guillotine") that will wrap around the image when the plugin is instantiated is fully responsive (fluid) so it will always take all the width left by its parent.
3. JAVASCRIPT
var picture = $('#thepicture');  // Must be already loaded or cached!
picture.guillotine({width: 400, height: 300});
Here we set the dimensions we want for the cropped image (400x300), which are totally independent of the size in which the "guillotine" or "window" is actually displayed on screen.
Even though it's responsive, the data returned always corresponds to the predefined dimensions. In this case, it will always get a cropped image of 400 by 300 pixels.
Notice: Make sure that the target element is ready before instantiating!
If it's an image, make sure that it is already loaded or cached before calling Guillotine, so it can get its dimensions and display it properly. You can use the onload event, the complete property or check that the image has a width greater than zero to determine if it's loaded.
4. ADVANCED
Bind actions:
$('#rotate-left-button').click(function(){
  picture.guillotine('rotateLeft');
});

$('#zoom-in-button').click(function(){
  picture.guillotine('zoomIn');
});

...
Handle cropping instructions:
The plugin is not meant to actually crop images but to generate the necessary instructions to do so on the server.
-
You can get the instructions at any point by calling 'getData':
data = picture.guillotine('getData');
// { scale: 1.4, angle: 270, x: 10, y: 20, w: 400, h: 300 }
Important: You should rotate and scale first, and then apply the cropping coordinates to get it right!
-
Or you can use a callback or a custom event to listen for changes:
var otherPicture = $('#other-picture');
otherPicture.guillotine({eventOnChange: 'guillotinechange'});
otherPicture.on('guillotinechange', function(ev, data, action){
  // this = current element
  // ev = event object
  // data = { scale: 1.4, angle: 270, x: 10, y: 20, w: 400, h: 300 }
  // action = drag/rot')eLeft/rotateRight/center/fit/zoomIn/zoomOut
  // Save data on hidden inputs...
});
Set the 'onChange' option instead if you prefer to use a callback:
otherPicture.guillotine({
  onChange: function(data, action){
    // Do something...
  }
});
5. API
Once instantiated, you can interact with the plugin by passing instructions as strings. Here is the complete public API:
// Transformations
// rotateLeft, rotateRight, center, fit, zoomIn, zoomOut
picture.guillotine('zoomOut');
picture.guillotine('rotateRight');
...

// Get current data
// { scale: 1.4, angle: 270, x: 10, y: 20, w: 400, h: 300 }
var data = picture.guillotine('getData');

// Get instance (Guillotine instance)
var guillotine = picture.guillotine('instance');

// Disable/Enable the plugin
picture.guillotine('disable');
picture.guillotine('enable');

// Remove the plugin (reset everything)
picture.guillotine('remove');
Optionally, you can set the initial position and state of the image by passing a data object with the initoption, similar to the one returned by 'getData':
picture.guillotine({
  width: 400,
  height: 300,
  init: { x: 35, y: 15, angle: 90 }
});
 JS Tutorial


