Download
Demo
- Overview
- Documents
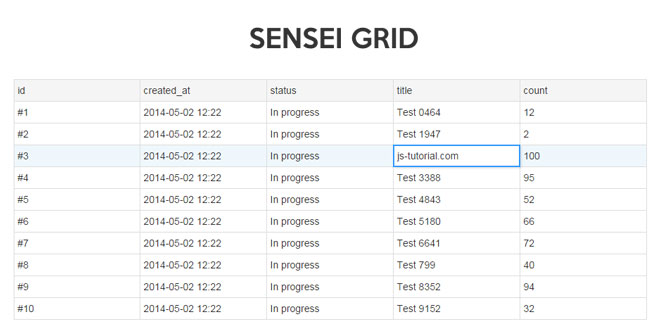
Sensei Grid is a simple data grid library written in JavaScript. The data grid is part of Datazenit, a web-based database administration tool.
Dependencies: jQuery and underscore.js/lodash.
Goals
- Simplicity: Sensei Grid will be a single purpose data grid without unrelated functionality.
- Small code base: Bloatware and dirty workarounds/hacks will be avoided as much as possible to keep the code base small and tidy.
- Extensibility: Even though Sensei Grid will be kept simple, we will put serious effort to make it easy to extend and customize.
- Stability: Sensei Grid is backed by Datazenit, meaning that the project is financially supported and will be constantly maintained and improved.
sex shop sex shop sex shop sex shop sex shop seks shop spanish fly psikolog sohbet numara sohbet hatti
Source: github.com
 JS Tutorial


