How to use
It is very easy. First include the jQuery library then include the s3Capcha javascript in the head of the page(s) where you want to use s3Capcha.
jQuery can be download from jQuery`s homepage.
< script src="js/jquery.js" type="text/javascript">< /script>
< script src="js/s3Capcha.js" type="text/javascript">< /script>
Important: For the script to work properly there is a set of rules that must be followed.
HTML
<div id="s3capcha"> <!--?php include("s3Capcha.php"); ?--> </div>
In element with specific id (i`ve put the s3capcha) include the s3Capcha.php file. For the element, i`ve put the div, but you can put what ever element you like.
CSS
#s3capcha {
    float: left;
}
Then you need to initalize s3Capcha.
JS
$(document).ready(function() {
    $('#s3capcha').s3Capcha();
});
PHP
To verify that right image has been selected, use this code.
session_start();
if($_POST['s3capcha'] == $_SESSION['s3capcha'] && $_POST['s3capcha'] != '') {
    unset($_SESSION['s3capcha']);
    // true //
} else {
    // false //
}
Take a look at the live example.
Advanced setup
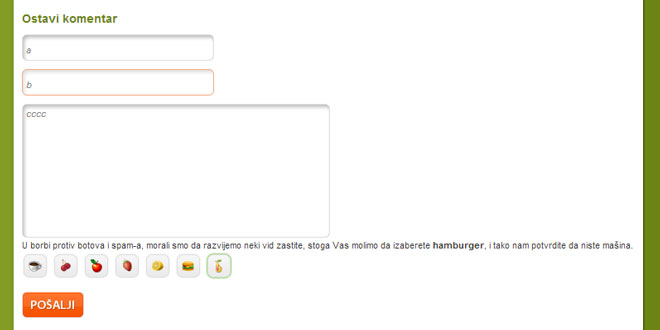
If you like, you can change the images that will be shown. You can do that by editing the s3Config.php file.
$values     = array('apple','strawberry','lemon','cherry','pear'); // image names //
$imageExt   = 'jpg'; // images extension //
$imagePath  = 's3images/'; // images path //
$imageW     = '33'; // icon width //
$imageH     = '33'; // icon height //
As you can see, there are 5 options you can change. First one is an array of image names. Please note that the way you name your image, is the same name that will be shown at the front end where scipt ask you to select that image.
Second option is the extension of your images, and the third is the path to them.
If you need a new set of icons for this plugin, and you want someone who is familiar with it. You can contact my friendRobert who is great designer and also familiar with this plugin.
 JS Tutorial


