User Rating: 4.2/5 ( 3 votes)
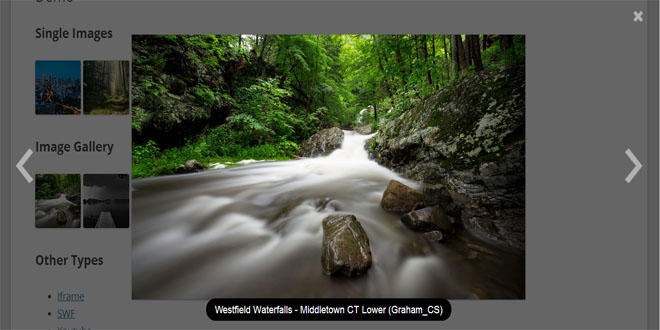
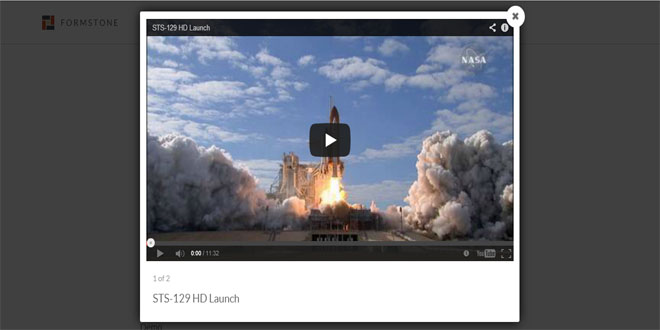
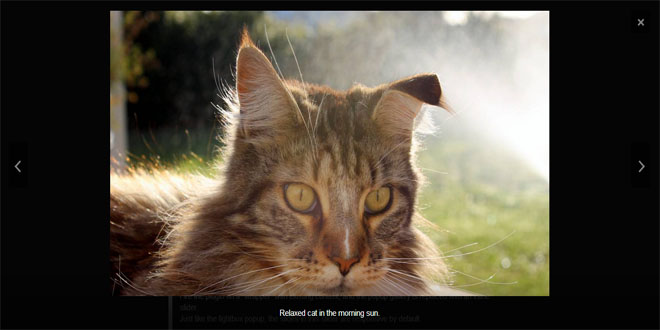
A simple, flexible, responsive, retina-ready jQuery lightbox plugin.The Nivo Lightbox automatically detects the type of content you are trying to show and loads it correctly. No extra setup required. So no matter if you are trying to show images, image galleries, AJAX, Flash, Youtube or Vimeo videos, another website or just inline HTML, Nivo Lightbox has you covered.
The Nivo Lightbox uses some cutting edge CSS transition effects to make your content display in as beautiful a way as possible. We employ some progressive enhancement to make the lightbox look stunning in newer browsers, but still function correctly in older browser.
jQuery Lightbox Done Properly
There are a tonne of jQuery lightbox plugins in the world but none of them are as simple to set up and use as the Nivo Lightbox while still offering the flexibility and accessibility available with the Nivo Lightbox. It is responsive, retina-ready and simple to setup for mobile too.

Automatic Content Detection
The Nivo Lightbox automatically detects the type of content you are trying to show and loads it correctly. No extra setup required. So no matter if you are trying to show images, image galleries, AJAX, Flash, Youtube or Vimeo videos, another website or just inline HTML, Nivo Lightbox has you covered.

CSS Powered Effects
The Nivo Lightbox uses some cutting edge CSS transition effects to make your content display in as beautiful a way as possible. We employ some progressive enhancement to make the lightbox look stunning in newer browsers, but still function correctly in older browser (looking at your Internet Explorer).

Small, Semantic, Responsive & HiDPI Compatible
The Nivo Lightbox is also designed to have as small an impact as possible on your page load times, so the minified version only weighs 7kb. We also created the lightbox using the latest standards and made sure that everything is semantic and as compatible as possible. Oh yes and it’s completely responsive and has support for HiDPI (retina).

Install files
Add these items to the <head> of your document. This will link jQuery and the Nivo Lightbox core CSS/JS files into your webpage. You can also choose to host jQuery on your own server, but Google is nice enough to take care of that for us!
<link rel="stylesheet" href="nivo-lightbox.css" type="text/css" />
<link rel="stylesheet" href="themes/default/default.css" type="text/css" />
<script src="//ajax.googleapis.com/ajax/libs/jquery/1.10.1/jquery.min.js"></script>
<script src="nivo-lightbox.min.js"></script>
Add markup
The Nivo Lightbox markup is actually very simple and fully accessible. You simply need to set up links as you normally would in any webpage. The Nivo Lightbox automatically detects what type of content your are trying to display.
<a href="image_large.jpg" title="This is an image title">
    <img src="image_thumb.jpg" alt="" />
</a>
<a href="http://wikipedia.com">View Website</a>
<a href="https://www.youtube.com/watch?v=L9szn1QQfas">View Youtube Video</a>
Hook up the lightbox
Lastly, add the following lines of Javascript into the <head> of your document, below the links from Step 1.
<script>
$(document).ready(function(){
    $('a').nivoLightbox();
});
</script>
...and voila! That wraps up the most basic installation of Nivo Lightbox into your webpage.
Play with settings
Listed below are all of the options available to customize the Nivo Lightbox to suite your needs, along with their default values.
$('a').nivoLightbox({
    effect: 'fade',                             // The effect to use when showing the lightbox
    theme: 'default',                           // The lightbox theme to use
    keyboardNav: true,                          // Enable/Disable keyboard navigation (left/right/escape)
    clickOverlayToClose: true,                  // If false clicking the "close" button will be the only way to close the lightbox
    onInit: function(){},                       // Callback when lightbox has loaded
    beforeShowLightbox: function(){},           // Callback before the lightbox is shown
    afterShowLightbox: function(lightbox){},    // Callback after the lightbox is shown
    beforeHideLightbox: function(){},           // Callback before the lightbox is hidden
    afterHideLightbox: function(){},            // Callback after the lightbox is hidden
    onPrev: function(element){},                // Callback when the lightbox gallery goes to previous item
    onNext: function(element){},                // Callback when the lightbox gallery goes to next item
    errorMessage: 'The requested content cannot be loaded. Please try again later.' // Error message when content can't be loaded
});
The effect parameter can be any of the following:
-
fade
-
fadeScale
-
slideLeft
-
slideRight
-
slideUp
-
slideDown
-
fall
Adding Titles
Adding titles to your lightbox items is as simple as adding a title attribute to your link. For example:
<a href="image_large.jpg" title="This is an image title">
    <img src="image_thumb.jpg" alt="" />
</a>
Setting up Galleries
By default Nivo Lightbox will only show individual items. To create a gallery of items with prev/next navigation you need to add a data-lightbox-gallery attribute to your links. For example:
<a href="image1_large.jpg" data-lightbox-gallery="gallery1">
    <img src="image1_thumb.jpg" alt="" />
</a>
<a href="image2_large.jpg" data-lightbox-gallery="gallery1">
    <img src="image2_thumb.jpg" alt="" />
</a>
<a href="image3_large.jpg" data-lightbox-gallery="gallery1">
    <img src="image3_thumb.jpg" alt="" />
</a>
Loading content via AJAX
To load content via AJAX you need to add a data-lightbox-type="ajax" attribute to your link. For example:
<a href="demo.html" data-lightbox-type="ajax">Load via AJAX</a>
Using HiDPI Images
Nivo Lightbox supports loading HiDPI images in the lightbox for devices that support it (e.g. Retina Macs). To do so simply add a data-lightbox-hidpi attribute to your link with the URL to your HiDPI image. For example:
<a href="image_large.jpg" data-lightbox-hidpi="[email protected]">
    <img src="image_thumb.jpg" alt="" />
</a>


 JS Tutorial


