- Overview
- Documents
What is ChillTip ?
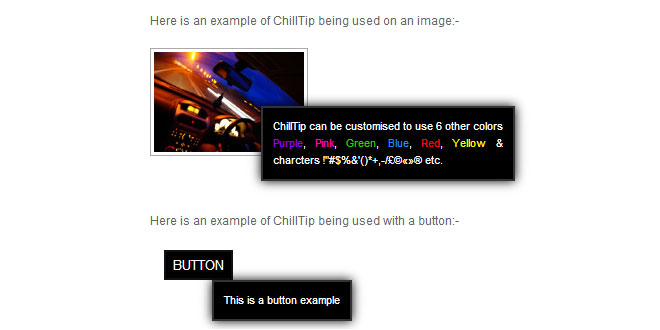
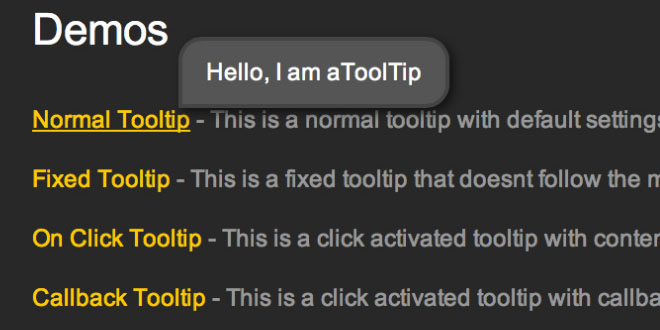
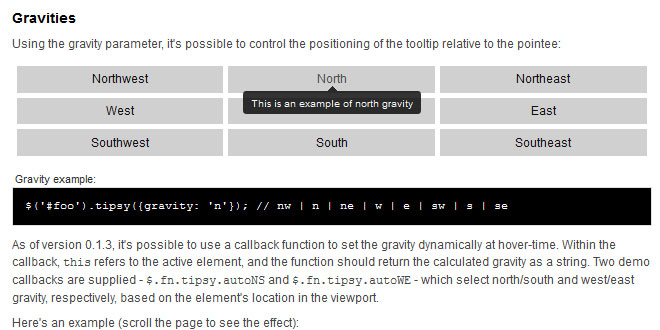
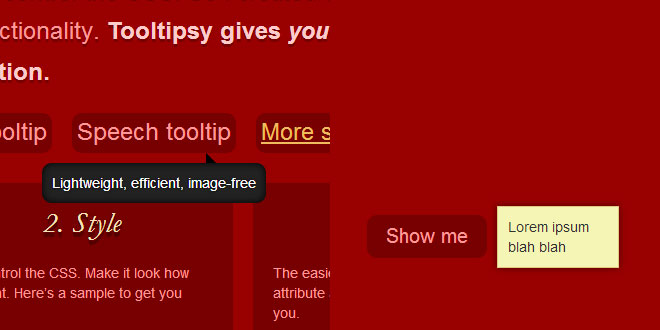
ChillTip is a jQuery plug-in that allows you to have a custom designed tooltip for your website or web page. It can be used with span, img, anchor attributes and pretty much anything else that uses the title attribute
Why use ChillTip ?
Before starting this project I had previously used custom tooltips, whilst using a few I quickly came across problems. Many of them had custom designed attributes that were not recognized by HTML Validators which can result to errors in different browsers.
Others showed the default browser tooltip as well as the custom one. Some would not allow symbols or characters to be displayed and would stop the page working and others where not customizable.
Therefore I set out to design my own one tooltip called ChillTip to provide a solution that addressed these problems and which allows anyone to customize a tooltip to a specific design that really works without any limitations.
How to install ChillTip
ChillTip is very easy to install, all you require for it to work is the chilltip-packed.js file and the latest version of the jQuery framework, please follow the steps below which will walk you through how to install ChillTip onto your website.
Step 1 - Open or Create a new web document.
Open your web page that you would like to add to ChillTip to or create a new HTML document.
Step 2 - Download jQuery
ChillTip is a jQuery Plugin, therefore you will require jQuery for it to work. Simply download the latest version from the jQuery Website and save it to your scripts folder.
Alternatively you can add the following script to your head section of your web page which is what we are going to use in this example.
<head>

<script type="text/javascript" src="http://code.jquery.com/jquery-latest.min.js"></script>

</head>
Step 3 - Download ChillTip
Download ChillTip by clicking the link above and save it to your scripts folder in this example we are using 'js' as our script folder and add it to the head section of your page.
<head>

<script type="text/javascript" src="http://code.jquery.com/jquery-latest.min.js"></script>
<script type="text/javascript" src="js/chilltip-packed.js"></script>

</head>
Step 4 - Add ChillTip to attributes
Now we can now add ChillTip to our html code. To do this create a img, anchor or span attribute. In this example we are going to use anchor attribute to create a link. Then I we are going to add a class="ChillTip"as we want the ChillTip to be applied to this link. Then add the title="YOUR CONTENT" attribute to give a description of what the link is for. Then we have to activate the ChillTip plugin for class ChillTip by adding the script in the example below.
<head>

<script type="text/javascript" src="http://code.jquery.com/jquery-latest.min.js"></script>
<script type="text/javascript" src="js/chilltip-packed.js"></script>
<script type="text/javascript">

$(function(){
$('.ChillTip').ChillTip();
});

</script>

</head>
<body>

<a href="chilltip" class="ChillTip" title="To learn more about the ChillTip Project click here.">For more info.</a>

</body>
Step 5 - Adding Colour
In this example we are going to change the colour of the word ChillTip to blue. We need to put the word ChillTip <span class="one"></span>. But for it to work correctly we need to change the < / " > to ascii html codes. For example change < to < , / to / , " to " , > to > like below.
<head>
<script type="text/javascript" src="http://code.jquery.com/jquery-latest.min.js"></script>
<script type="text/javascript" src="js/chilltip-packed.js"></script>
<script type="text/javascript">
$(function(){
$('.ChillTip').ChillTip();
});
</script>
</head>
<body>
<a href="chilltip" class="ChillTip" title="To learn more about the <span
class="one">Chilltip</span> Project click here.">For more info.</a>
</body>
NOTE
The reason why we have to use ascii html characters is that the html validators will see the a span attribute inside a title attribute that uses < / " > characters. These characters can not be used inside the title attribute as it will fail to validate your web page. To use other symbols or characters just use that ascii html code for that character.
Step 6 - Adding More Colour
ChillTip has been designed to be easily customizable and can use up to 6 colours at one time. Theses colours values can be changed in the chilltip-packed.js file at the top.
To add up to six colours in your ChillTip just add:
For Color One Add <span class="one"> YOUR CONTENT </span>
For Color Two Add <span class="two"> YOUR CONTENT </span>
For Color Three Add <span class="three"> YOUR CONTENT </span>
For Color Four Add <span class="four"> YOUR CONTENT </span>
For Color Five Add <span class="five"> YOUR CONTENT </span>
For Color Six Add <span class="six"> YOUR CONTENT </span>
So if we use all six colours should should have something similar to below:-
<head>
<script type="text/javascript" src="http://code.jquery.com/jquery-latest.min.js"></script>
<script type="text/javascript" src="js/chilltip-packed.js"></script>
<script type="text/javascript">
$(function(){
$('.ChillTip').ChillTip();
});
</script>
</head>
<body>
<a href="chilltip" class="ChillTip" title="<span class="one">Blue</span>, <span class="two">Pink</span>, <span class="three">Green</span>, <span class="four">Purple</span>, <span class="five">Red</span>, <span class="six">Yellow</span>">For more info.</a>
</body>
ChillTip Options
ChillTip has a many options allowing you to fully customise your own tooltip to suit your website. You can change the options at the top of the ChillTip script or by passing the value to the plugin like so: $('.ChillTip').ChillTip({option:'value'});
| Option | Value Range | Default Value | Description |
| CTBK | #000000 - #FFFFFF | #000000 | Background colour using (hex colour codes) |
| CTBC | #000000 - #FFFFFF | #333333 | Border colour using (hex colour codes) |
| CTTC | #000000 - #FFFFFF | #FFFFFF | Normal text colour using (hex colour codes) |
| C1 | #000000 - #FFFFFF | #1E90FF | Text colour 1 using (hex colour codes) |
| C2 | #000000 - #FFFFFF | #FF00CC | Text colour 2 using (hex colour codes) |
| C3 | #000000 - #FFFFFF | #33CC00 | Text colour 3 using (hex colour codes) |
| C4 | #000000 - #FFFFFF | #9900FF | Text colour 4 using (hex colour codes) |
| C5 | #000000 - #FFFFFF | #FF0000 | Text colour 5 using (hex colour codes) |
| C6 | #000000 - #FFFFFF | #FFFF00 | Text colour 6 using (hex colour codes) |
| CTTF | CSS font-family property | Arial, Helvetica, sans-serif | Font family |
| CTC | CSS cursor property | Pointer | Cursor type |
| CTFT | 0 - 5000 | 250 | ChillTip fade in time in (milliseconds)) |
| CTW | 0 - 500 | 250 | ChillTip max width in (px) |
| CTTP | 0 - 25 | 10 | Text padding in (px) |
| CTTS | 0 - 16 | 11 | Text size in (px) |
| CTBW | 0 - 10 | 2 | Border width in (px) |
| CTTO | 0 - 200 | 20 | Top offest from mouse in (px) |
| CTLO | 0 - 200 | 20 | Left offest from mouse in (px) |
| SHAD | true / false | true | Show shadow |
Taking things further
If you want to customise each tooltip differently now you can. In this example we will change class to class="ChillTip1" therefore we are not using the default settings and we are going to set the background colour to white, the border colour black, the width to 150px and the opacity to 100% whilst the rest of the tooltips stay as the default settings. This is how we do this:-
<head>
<script type="text/javascript" src="http://code.jquery.com/jquery-latest.min.js"></script>
<script type="text/javascript" src="js/chilltip-packed.js"></script>
<script type="text/javascript">
$('.ChillTip1').ChillTip({
CTBK:'#fff',
CTBC:'#000',
CTW:'150'
});
</script>
</head>
<body>
<a href="chilltip" class="ChillTip1" title="<span class="one">Blue</span>, <span class="two">Pink</span>, <span class="three">Green</span>, <span class="four">Purple</span>, <span class="five">Red</span>, <span class="six">Yellow</span>">For more info.</a>
</body>
 JS Tutorial


