- Overview
- Documents
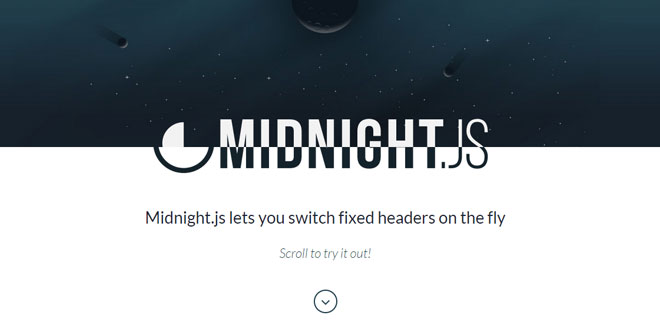
Midnight is a jQuery plugin that switches between multiple header designs as you scroll, so you always have a header that looks great with the content below it.
sex shop sex shop sex shop sex shop sex shop seks shop spanish fly psikolog sohbet numara sohbet hatti
Source: aerolab.github.io
1. INCLUDE JS FILES
<script src="assets/js/jquery-1.11.1.min.js"></script>
<script src="midnight.jquery.js"></script>
2. HTML
Create your fixed nav (or header) as you typically would. For an example, something like this (you can use whatever markup suits you)
<nav class="fixed">
  <a class="logo">Logo</a>
</nav>
Make sure the header works well with position:fixed
After that, take any sections of your page that need a different nav and add data-midnight="your-class" to it, where your-class is the class you are going to use to style that header. If you don't use the property or just leave it blank, the .default header will be used for that section.
<section data-midnight="white">
  <h1>A section with a dark background, so a white nav would look better here</h1>
</section>

<div data-midnight="blue">
  <h1>A blue nav looks better here</h1>
</div>

<footer>
  <h1>This will just use the default header</h1>
</footer>
Multiple headers as necessary will be created based on the classes declared in these sections.
3. CSS
You can style it in your css using the class .midnightHeader.your-class (replace your-class with the correct one). For example:
.midnightHeader.default {
  background: none;
  color: black;
}
.midnightHeader.white {
  background: white;
  color: black;
}
.midnightHeader.blue {
  background: blue;
  color: white;
}
.midnightHeader.red {
  background: red;
  color: white;
}
4. JAVASCRIPT
// Start midnight
$(document).ready(function(){
    // Change this to the correct selector for your nav.
    $('nav.fixed').midnight();
});
5. OPTIONS
You can use a variety of custom options when using midnight:
$('nav').midnight({
  // The class that wraps each header. Used as a clipping mask.
  headerClass: 'midnightHeader',
  // The class that wraps the contents of each header. Also used as a clipping mask.
  innerClass: 'midnightInner',
  // The class used by the default header (useful when adding multiple headers with different markup).
  defaultClass: 'default'
});
6. USING CUSTOM MARKUP
Let's say you want to create a special header with a butterfly in it, which needs some extra markup. You need to do two things:
-
First, add a div with the class .midnightHeader.default . This will be the header that's used for every section (that doesn't have a specific style) and duplicated as necessary, automatically replacing .default with the correct class.
-
Then, add a div with the class .midnightHeader.your-class (like .butterfly). This will be used in that case instead, so you can use some custom markup in that case. Repeat this step for any other header with custom markup.
-
Keep in mind that all headers need to be the same height. Take that into account when styling your headers. If you have one that's larger than usual, we recommend you make all the headers the same height and try to handle it with additional markup.
<nav class="fixed">
  <!-- Your standard header -->
  <div class="midnightHeader default">
    <a class="logo">Logo</a>
  </div>

  <!-- A header with a butterfly -->
  <div class="midnightHeader butterfly">
    <a class="logo">Logo</a>
    <span class="a-butterfly"><!-- Everybody loves butterflies! --></span>
    <span class="another-butterfly"><!-- OH GOD THEY ARE IN MY FACE --></span>
    <span class="yet-another-butterfly"><!-- AAAAAHHHHHHHHHHHHHHHHHHHHH --></span>
  </div>
</nav>
 JS Tutorial


